I’ve done some SQL-Injection vulnerability / penetration testing before of sites I’ve been responsible for but I wanted a testbed which I knew to have issues that I could probe.
The folks at SQLInjection.net have great stuff and a simulation environment but the set-up for that environment doesn’t give instructions for set-up on OS X, and I run on OS X so had to do some extra steps to get it all to fly.
Install PHP for OS X using XAMPP
First we need Apache PHP running on the Mac, I used XAMPP for OS X 5.6.24, you should be fine with whatever is the latest version.
Visit Apache Friends and download the installer:

Once downloaded (file xampp-osx-5.6.24-1-installer.dmg) fire up the installer dmg and then select the XAMPP icon to start the install.

The install wizard will start

Click Next>

Leave the defaults and click Next> again

Then Next> yet again – nearly there

Uncheck the “Learn more about Bitnami for XAMPP” (unless you want to learn more!) and click Next>

Then finally Next> to start the install.
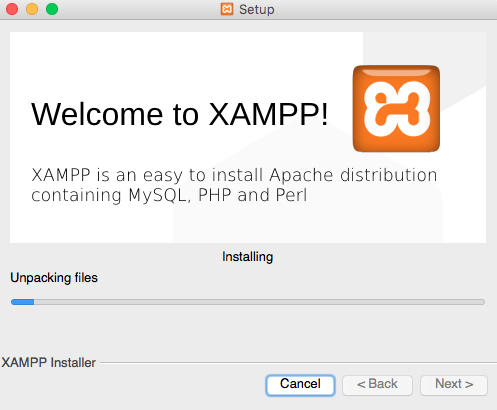
Wait for the install to complete.
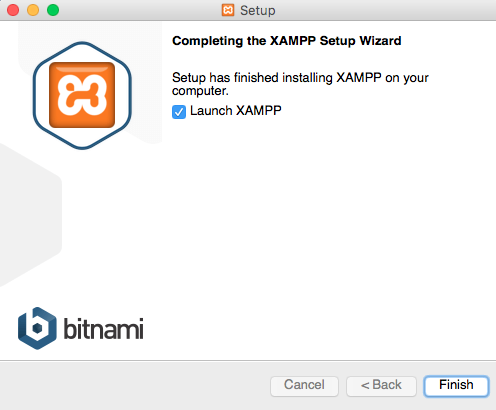
Uncheck the “Launch XAMPP” and click Finish.
Now we need to configure XAMPP and check all is well.
Fire up the Launchpad (normally F4 unless you’ve customised your keyboard), find and open “XAMPP (other)”,

Open it and run “manager-osx”

You’ll probably need to authenticate before getting to the app
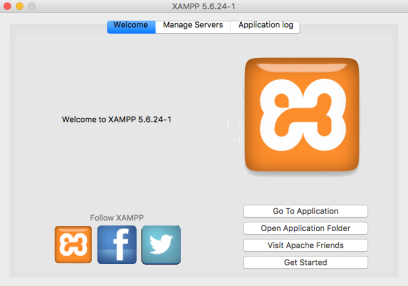
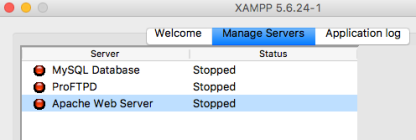
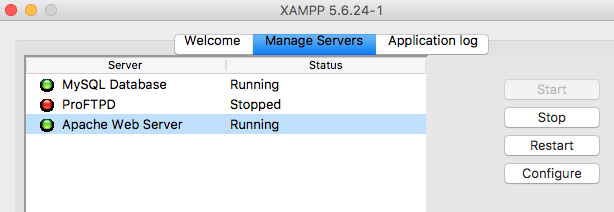
Select the “Manage Servers” tab

Make sure the “Apache Web Server” is running – if it’s not select it and click “Start”, you don’t need to start MySQL or ProFTPD.
Now we can check XAMPP is working correctly by pointing a browser at localhost and you should see the “Welcome to XAMPP” page.

Great – all is well. The last thing to do before grabbing the SQL Injection Simulator is to stop the server so back to the “manager-osx” “Manage Servers” tab and and click “Stop All” and wait for all to stop.
Installing sqlinjection.net’s SQL Injection Simulator
First we need to grab the zip file that contains the simulator.
Go to http://www.sqlinjection.net/simulation/ and click “Download Now”, you should get a file sqlinjection_simulation.zip in Downloads.
Now we need to drop the simulator into our PHP environment.
Start up a Terminal and navigate to the PHP web server in XAMPP:
> cd /Applications/XAMPP/xamppfiles/htdocs
The contents of the zip file need to be placed here, but first we need to remove the files the XAMPP installer put here (or move them elsewhere if you want to keep them – no need really):
> sudo rm -rf /Applications/XAMPP/xamppfiles/htdocs/*
Now copy the zip file from Downloads:
> sudo cp ~/Downloads/sqlinjection_simulation.zip /Applications/XAMPP/xamppfiles/htdocs
And then unzip it:
> sudo unzip sqlinjection_simulation.zip
OK – We’re nearly there but we need to make sure that the owner of the files in the simulator is correct.
> cat /Applications/XAMPP/xamppfiles/etc/httpd.conf | grep -A 5 User/Group
Which should give you:
# User/Group: The name (or #number) of the user/group to run httpd as.
# It is usually good practice to create a dedicated user and group for
# running httpd, as with most system services.
#
User daemon
Group daemon
Showing that the User and Group are indeed “daemon”.
So the last bit of set-up is to make sure that the simulator files are owned by daemon:
> cd /Applications/XAMPP/xamppfiles/htdocs
> sudo chown -R daemon:daemon *
That’s it. Now go back to manager-osx, select “Apache Web Server” and click Start then also select “MySQL Database” and click start.
Now once again go to localhost and you should see the SQL Injection simulator running:

Click the “Setup / Reset” tab

Then click “Launch database script”

And that’s it, the simulator is all set-up and running. Select the Instructions tab and dive in.
